Iron-On Paramedic Respiratory Therapist Embroidered patch
Paramedic Respiratory Therapist Patch – Story Behind the Design
If you've come across my collection before, you probably know I don’t believe in generic designs. Mainstream symbols often end up looking like a desk covered in blank copy paper — everything starts to blend together. My philosophy is simple: if something is important, it should stand out.
So when I design, I add layers of symbolism. These licenses represent years of sacrifice, discipline, and dedication. They mark the transition into an elevated role in healthcare, and that accomplishment deserves to be recognized.
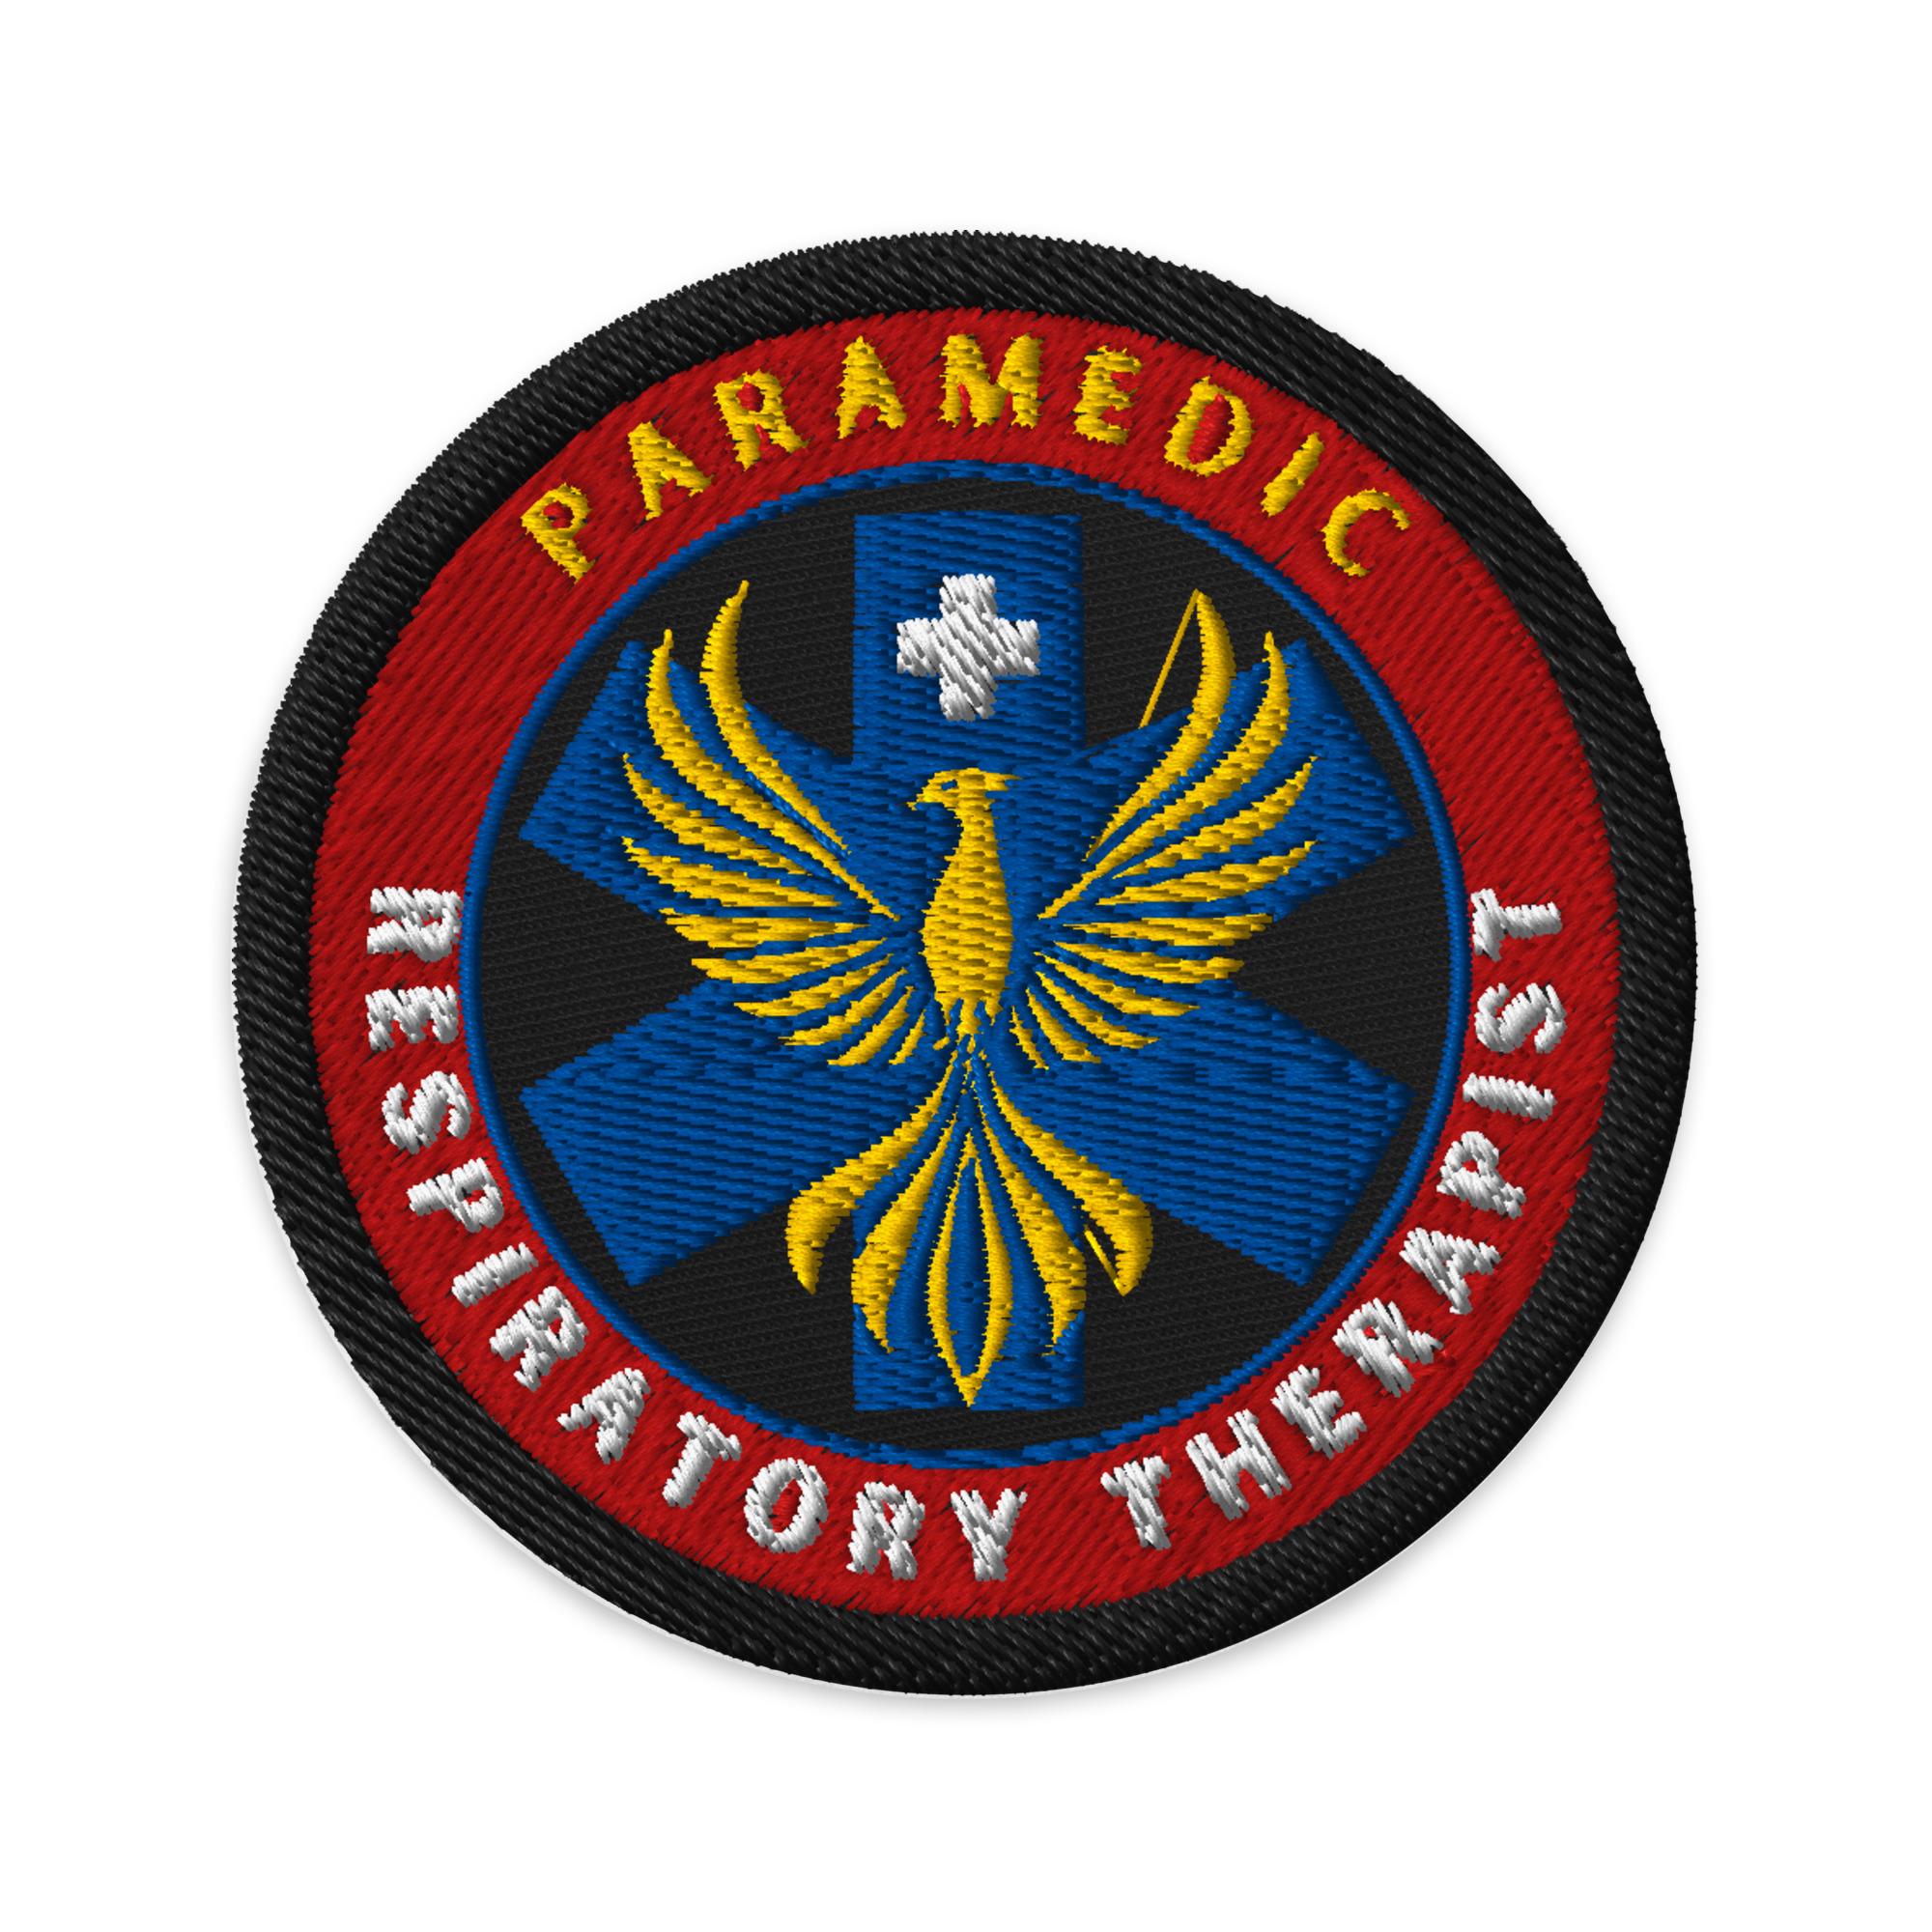
This Paramedic Respiratory Therapist design represents professionals who operate in both pre-hospital emergency care and hospital-based respiratory care.
The white cross layered over the blue Star of Life represents these two practice environments — the hospital and the field — coming together in a single role dedicated to patient survival.
At the center of the design is a yellow canary, referencing the historical phrase “the canary in the coal mine.” Miners once carried canaries underground to warn them of dangerous air conditions. If toxic gases filled the mine, the canary would stop singing before the gases reached lethal levels for the miners, signaling that it was time to evacuate. This method was developed by John Scott Haldane, often referred to as the Father of Oxygen Therapy.
The symbolism connects directly to respiratory care. Canaries require large amounts of oxygen to sustain flight and possess a highly efficient respiratory system that allows them to absorb oxygen when both inhaling and exhaling. Their physiology made them extremely sensitive to poor air quality — and a fitting symbol for professionals whose expertise revolves around oxygenation and airway management.
Finally, the red circular border represents two things familiar to respiratory professionals: the countless arterial blood gases (ABGs) you’ll analyze throughout your career, and the body’s ultimate oxygen transport system — hemoglobin.
Respiratory conditions are rarely simple. Add trauma, disease processes, altitude considerations during transport, and ventilator management, and the complexity grows quickly. Absolute respect to the provider who has pursued both of these disciplines.
Your expertise in critical airway management doesn’t just save patients — the staff who panic-page you to the bedside breathe easier when they see you arrive.
Thank you for everything you do, and congratulations on earning this incredible dual credential.
With great respect,
Mrs. Nurse Medic
• 26% cotton, 74% polyester
• 3″ (7.6 cm) in diameter
Iron-On, Pin-On, Sew-on Backing
Follow these steps when attaching patches by iron-on backing:
1. Choose the item on which you plan to attach the patch. As a general rule, the fabric you choose should be at least as heavy as the patch. Fabrics like denim and cotton provide the best base for iron-on patches.
2. Lay your item on a flat, heat-resistant surface.
3. Heat up the iron to the hottest setting your fabric can tolerate. Make sure the "steam" option is turned off.
4. Iron the place where you plan to place the patch.
5. Place a thin garment over the patch.
6. Position the heated iron over the garment that you placed over the patch and press down firmly for about 25 seconds on each side.
7. Remove the iron and allow the patch to cool.
8. Check to see whether the patch is fixed on securely by gently rubbing at the edge with a finger. If it lifts up a bit, repeat the process.
9. For a completely secure patch, use a sewing machine or a needle and thread to secure the patch to the fabric.
Full adhesiveness will be achieved in 48 hours.
Disclaimer: Don’t wash the item more than necessary since this process may cause the patch to start coming off. If you do need to wash the item, hand wash it using cold water. Allow it to air dry.
Reviews (1)
Average:
Oct 27, 2025
My boyfriend loved this very much!!
Bethany Poston
0 items in your cart