Iron-On FIRE EMS Embroidered patch
$19.50
Fire EMS – Story Behind the Design
If you’ve come across my collection before, you probably know that generic designs just aren’t my style. Too many symbols begin to look the same after a while—like a desk covered in blank copy paper. Everything blends together. My philosophy is simple: if something is important, it should stand out.
That’s why every design in my collection includes layers of symbolism. These roles represent years of training, sacrifice, and dedication. They reflect the responsibility of stepping into someone’s worst day and doing everything possible to make it better.
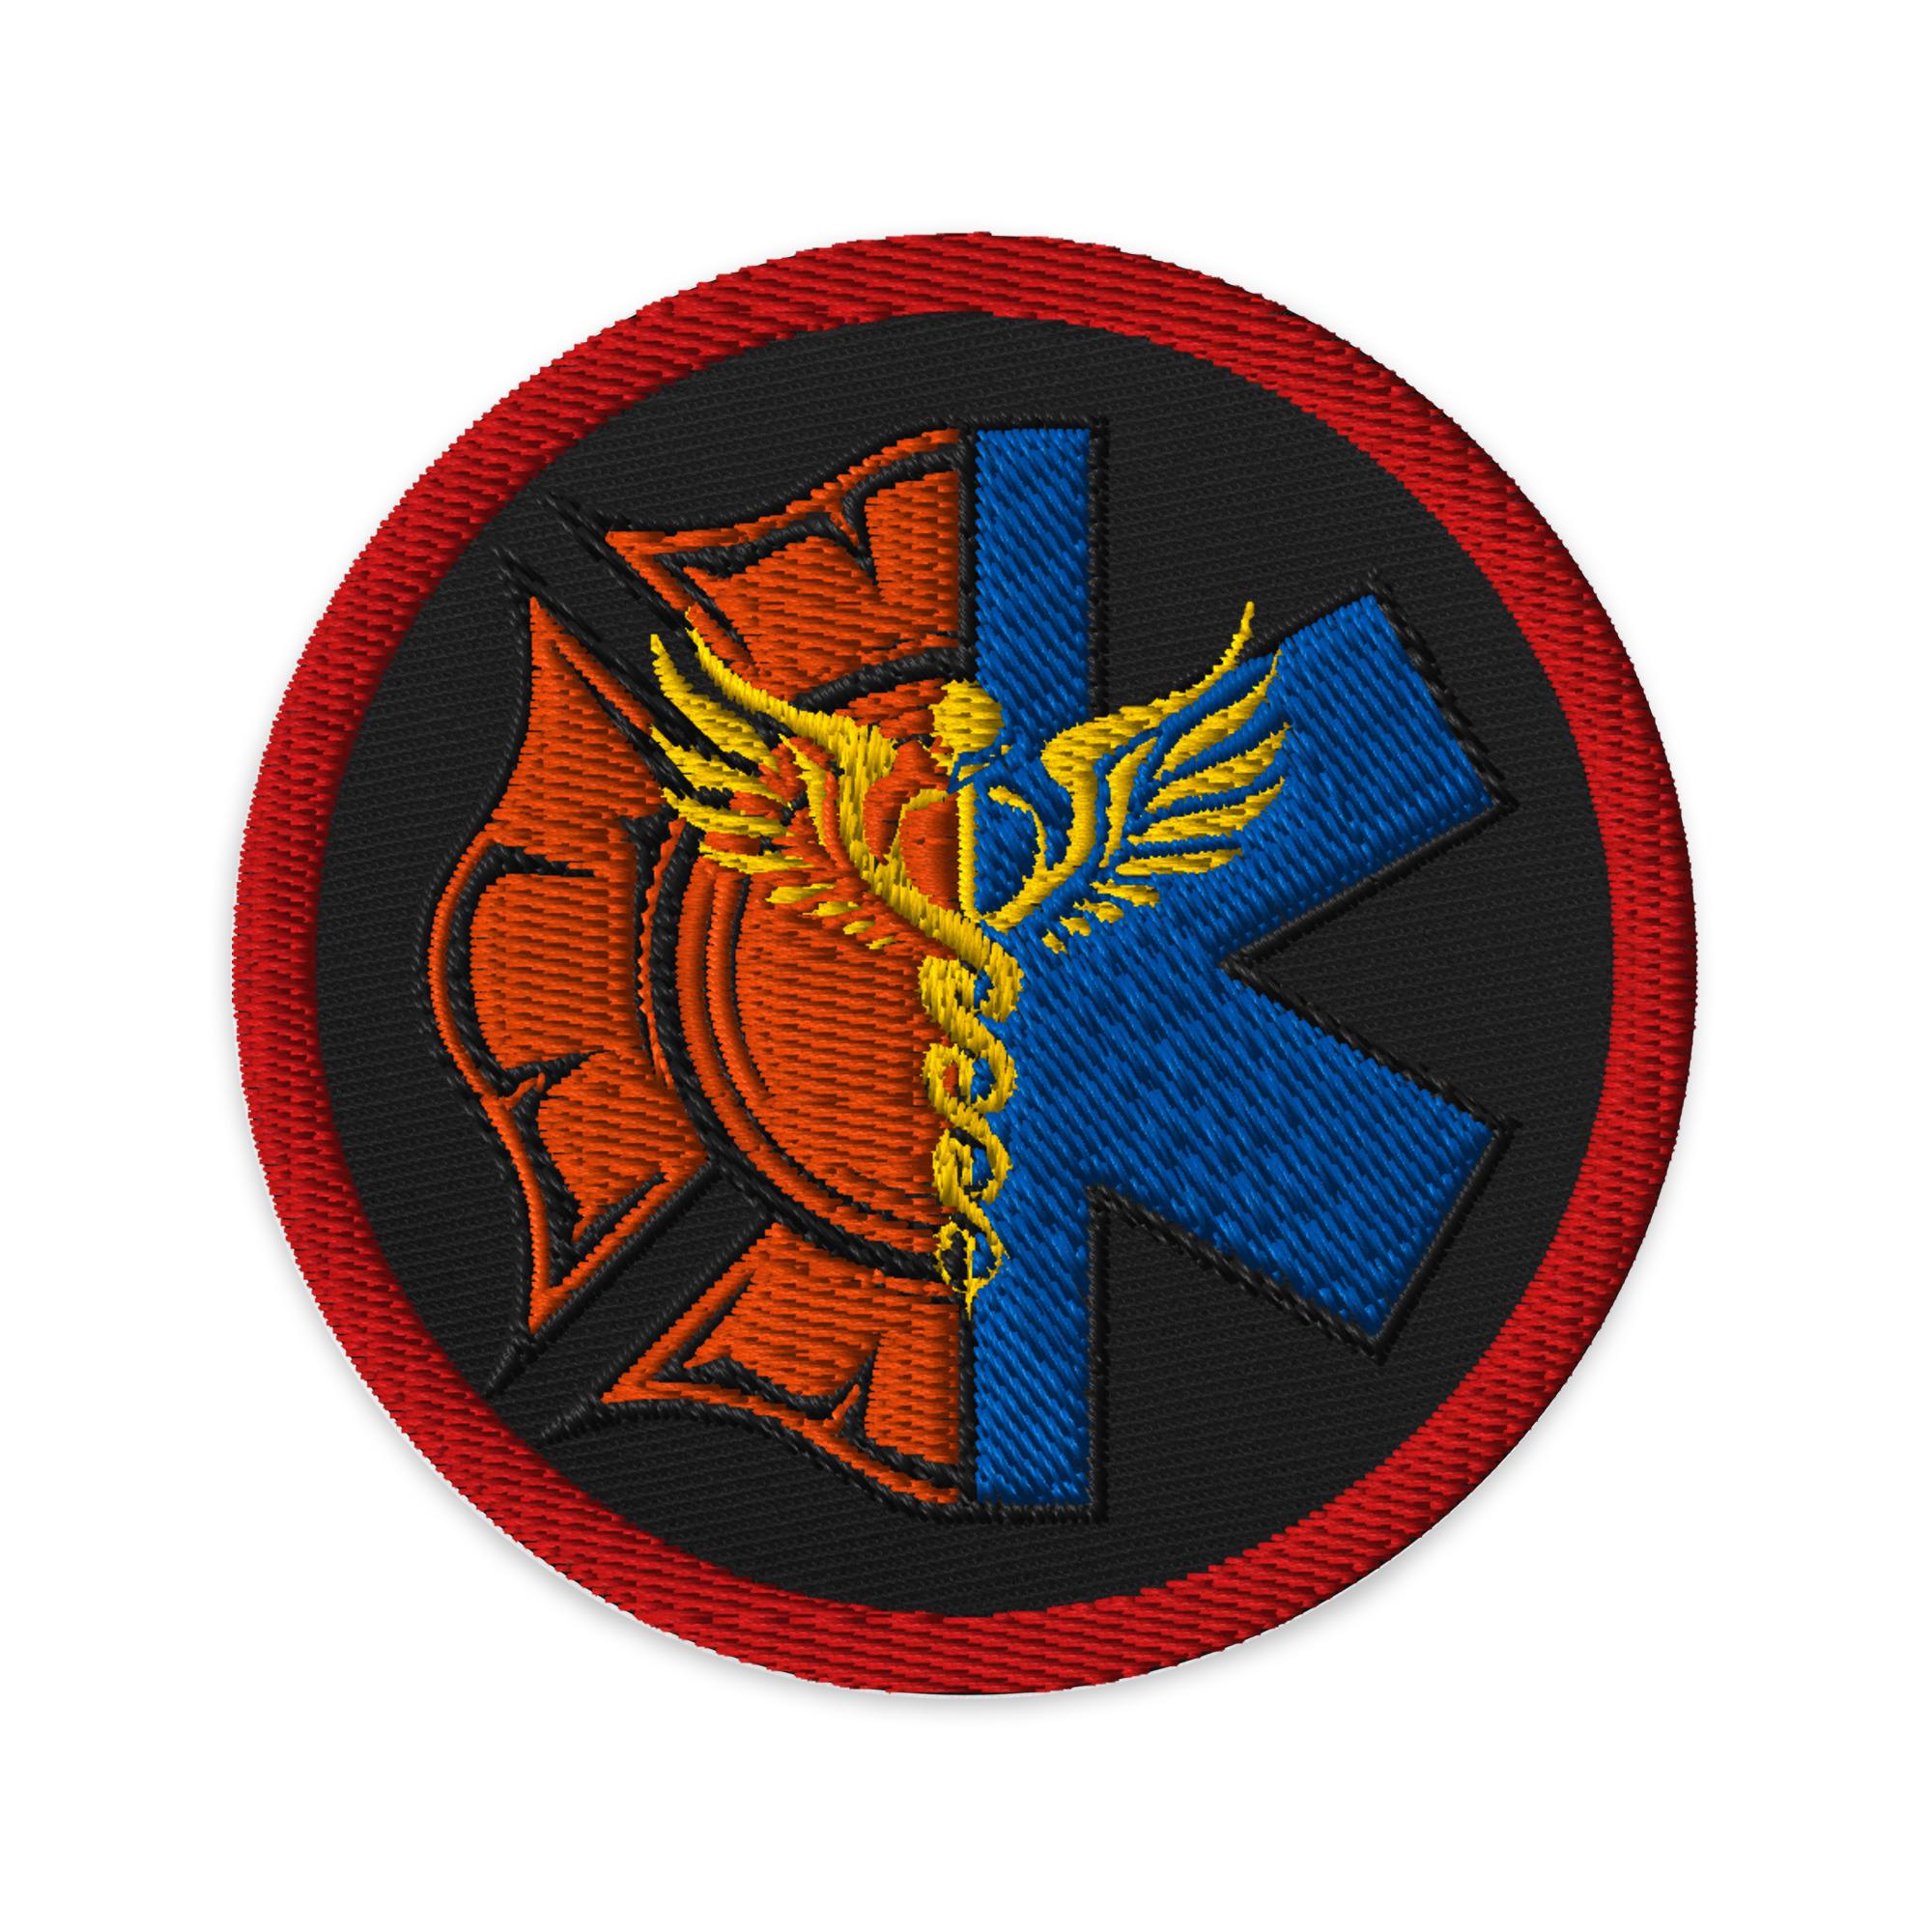
This Fire EMS design was created to represent the unique partnership between firefighters and emergency medical services, two professions that operate side by side when seconds matter most.
The design merges two iconic symbols.
On one side is the Fire Service Maltese Cross, long recognized as a symbol of courage, sacrifice, and the long tradition of firefighters who place themselves in harm’s way to protect their communities.
On the other side is the Star of Life, the international symbol of emergency medical services. It represents the many steps of emergency care, from recognizing a medical emergency, to dispatch, response, on-scene treatment, and transport to definitive care.
At the center stands the Caduceus, a symbol commonly associated with medicine and healing. Its placement between the two emblems represents the role of Fire EMS providers who bridge the worlds of firefighting and medicine, bringing lifesaving care directly to the scene.
Together, these elements represent professionals who respond to chaos with training, teamwork, and compassion.
Fire EMS providers face burning structures, critical injuries, medical emergencies, and unpredictable situations every shift. They are firefighters, medical providers, problem solvers, and calm voices in moments when people need them most.
This design is meant to honor those who carry both responsibilities.
Thank you for everything you do to protect and care for your community.
With great respect,
Mrs. Nurse Medic
• 26% cotton, 74% polyester
• 3″ (7.6 cm) in diameter
Iron-On, Pin-On, Sew on backing
Follow these steps when attaching patches by iron-on backing:
1. Choose the item on which you plan to attach the patch. As a general rule, the fabric you choose should be at least as heavy as the patch. Fabrics like denim and cotton provide the best base for iron-on patches.
2. Lay your item on a flat, heat-resistant surface.
3. Heat up the iron to the hottest setting your fabric can tolerate. Make sure the "steam" option is turned off.
4. Iron the place where you plan to place the patch.
5. Place a thin garment over the patch.
6. Position the heated iron over the garment that you placed over the patch and press down firmly for about 25 seconds on each side.
7. Remove the iron and allow the patch to cool.
8. Check to see whether the patch is fixed on securely by gently rubbing at the edge with a finger. If it lifts up a bit, repeat the process.
9. For a completely secure patch, use a sewing machine or a needle and thread to secure the patch to the fabric.
Full adhesiveness will be achieved in 48 hours.
Disclaimer: Don’t wash the item more than necessary since this process may cause the patch to start coming off. If you do need to wash the item, hand wash it using cold water. Allow it to air dry.
0 items in your cart