Iron-On Stretcher Jockey Taxi Style Embroidered patch
$19.50
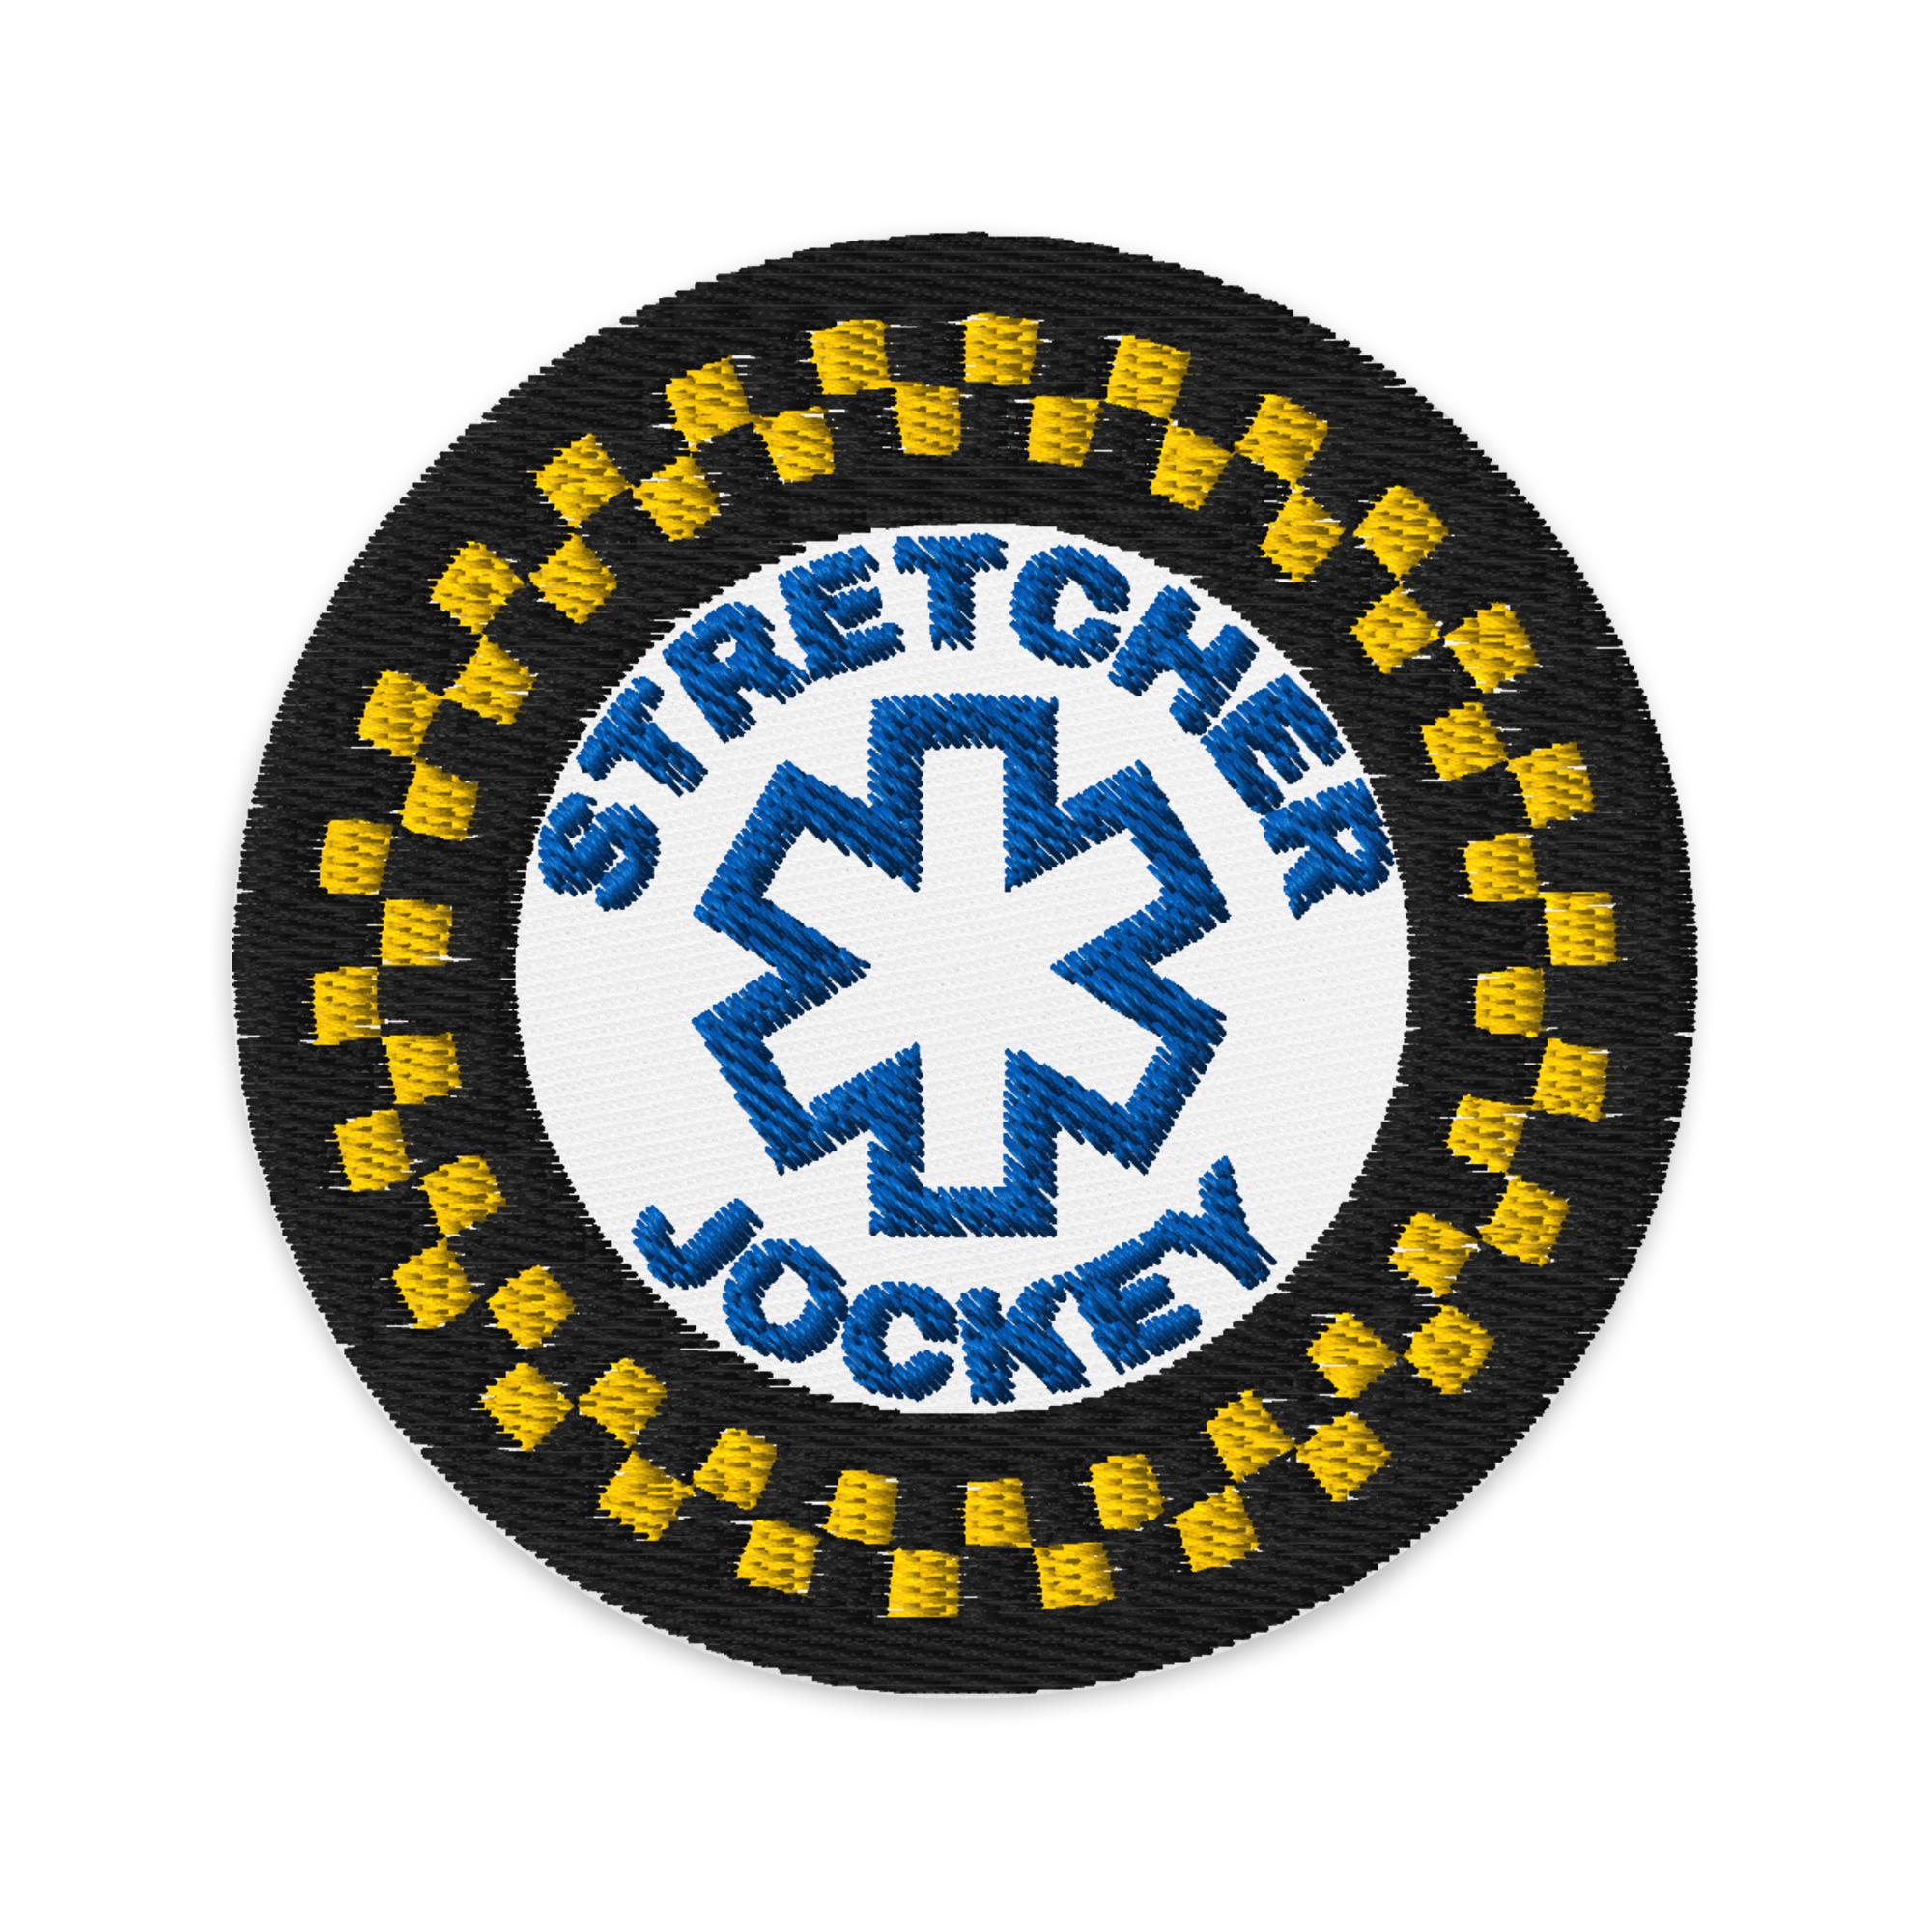
Stretcher Jockey – Story Behind the Patch
If you’ve seen my collection before, you probably know I like to mix symbolism with a little personality. Not every design has to be serious, sometimes the job itself provides enough material for a little humor.
This patch celebrates the “Stretcher Jockey," a nickname many EMS providers have heard at some point in their careers. Whether it comes from coworkers, hospital staff, or the occasional well-meaning bystander, it’s one of those titles that sticks around in EMS culture.
At first glance it might sound like a joke, but anyone who has spent time in the back of an ambulance knows the truth: moving patients safely from one place to another is far more complicated than it sounds.
Every shift involves navigating tight hallways, stairwells, uneven ground, curious pets, low doorways, elevator malfunctions, and the occasional piece of furniture that somehow grew three sizes overnight. All while keeping the patient comfortable, secure, and medically stable.
The taxi-style checkered border in this design is a playful nod to the transportation side of EMS. While the job certainly involves getting patients from point A to point B, every ride is far more than a simple trip across town. Behind that stretcher are trained professionals managing airways, monitoring vital signs, delivering medications, and making critical decisions along the way.
So yes, the nickname may be “Stretcher Jockey,” but the reality is a highly skilled provider who can drive, lift, treat, think on their feet, and occasionally perform medical gymnastics in the back of a moving vehicle.
To the crews who make the ride smooth, safe, and maybe even a little entertaining along the way, this one’s for you.
With Great Respect,
Mrs. Nurse Medic
• 26% cotton, 74% polyester
• 3″ (7.6 cm) in diameter
• Iron-On, Pin-On, Sew-on Backing
Follow these steps when attaching patches by iron-on backing:
1. Choose the item on which you plan to attach the patch. As a general rule, the fabric you choose should be at least as heavy as the patch. Fabrics like denim and cotton provide the best base for iron-on patches.
2. Lay your item on a flat, heat-resistant surface.
3. Heat up the iron to the hottest setting your fabric can tolerate. Make sure the "steam" option is turned off.
4. Iron the place where you plan to place the patch.
5. Place a thin garment over the patch.
6. Position the heated iron over the garment that you placed over the patch and press down firmly for about 25 seconds on each side.
7. Remove the iron and allow the patch to cool.
8. Check to see whether the patch is fixed on securely by gently rubbing at the edge with a finger. If it lifts up a bit, repeat the process.
9. For a completely secure patch, use a sewing machine or a needle and thread to secure the patch to the fabric.
Full adhesiveness will be achieved in 48 hours.
Disclaimer: Don’t wash the item more than necessary since this process may cause the patch to start coming off. If you do need to wash the item, hand wash it using cold water. Allow it to air dry.
0 items in your cart